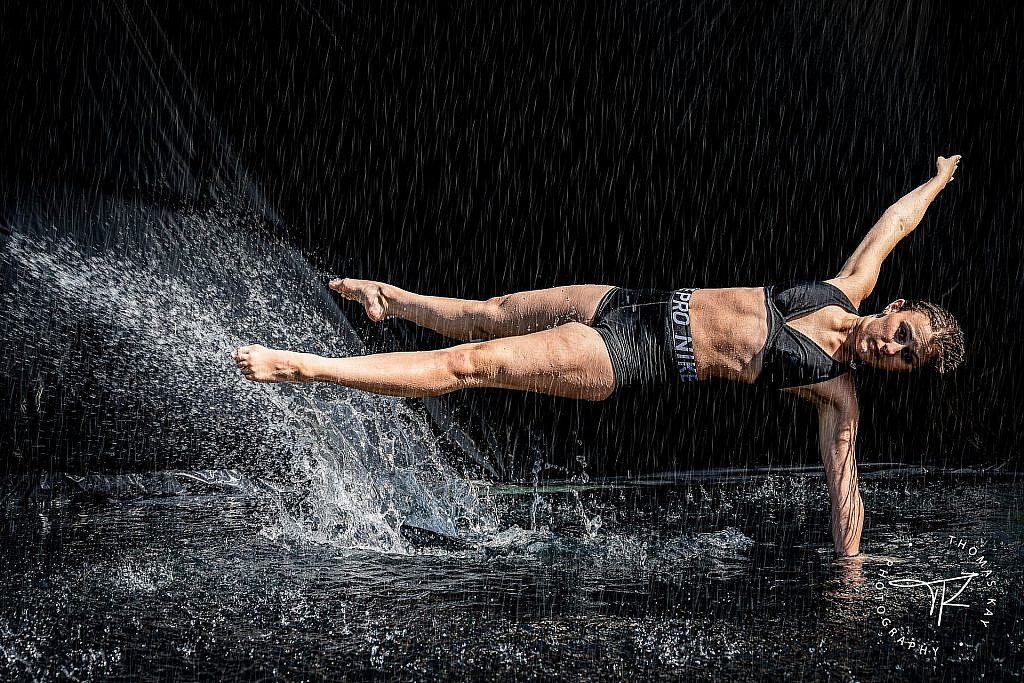
So, you’re thinking about doing a rain shoot, and you have no idea where to start. Well, you’ve come to the right place.
Keep in mind, like most of us, I continue to develop new techniques for my photo sessions and learn from each and every one of them. I am constantly trying to improve the quality of the images directly off of the camera in order to reduce the time required to retouch images.
Let’s take for example images from my first test shoot with some of my very EXTREMELY helpful ambassadors willing to give it whirl with no expectation as to the results of their session. These images were taken on a Nikon Z7 with the kit 24-270 f/4 lens. Which – for an outdoor session, there is absolutely NOTHING wrong with this kit lens. It’s fast, sharp, and lightweight. There were no flash units used for any of the images as the sunlight was more than enough light (but I’ll talk a little about that later). All images were taken at ISO 64 (Base ISO), between f/5 and f/8 depending on the exact lighting conditions at the moment, and I tried to stay between 1/125th and 1/500th depending on exactly what the dancer was doing and how I wanted the motion of her and the rain to be shown.
As you can easily tell, having too small of a backdrop, too wide of a shooting angle, light that was creating harsh shadows, etc. all create images that are, in my opinion, subpar. BUT – don’t get discouraged! If this, like myself, is the result of your first time trying something like this, you know that you have the foundations in place to move forward and dramatically improve on your images. With a little bit of photoshop and lightroom skills, these images are absolutely usable and can easily be presented to clients for their use.
Let’s talk about gear
Probably one of the most difficult aspects of any creative photoshoot like this is making sure you have the right equipment to make it a success. All the equipment and accessories I used are commercially available at your local hardware stores and of course, Amazon.
Let’s start with the rain sprinkler itself. There are several very interesting designs that can be used to make your own rain machine, but you need to remember a few principles about making it rain.
Never spray your participants with water shooting directly at them. Instead, you want it to rain (ie. you want gravity to do the work). When you position your sprayers, nozzles, etc. whatever you choose – you want them to be facing upwards so that gravity eventually takes the water and generates raindrops.
Watch how fine the “rain” is. Using sprinkler heads sometimes creates its own issues. If you use in-ground sprinkler system-based sprinkler heads, you’ll have to control the flow through the heads as they typically generate a fine mist. What you really want are thick rain pellets. More on this later…
Make sure you have in mind how you’re going to “power” your sprinkler system. Using a hose attached to your house can cost you as much as around $30 an hour for all that running water depending on your location. Instead, you may want to think about using a re-circulating pump of some sort (again, more on this later).
Think about how you’re going to transport the system. Some of the rain machines I’ve seen use 2×4 cross members with flat dripper hoses in a spiral pattern attached to the cross members. That makes it reasonably portable in the fact that you can take apart the 2x4s with just a few screws and transport a relatively small amount of garden hose with you. One thing to note about this configuration: watch your weight! Know what your stand system can and can’t support and how you’ll be putting it above your participant’s heads.
Sprinkler
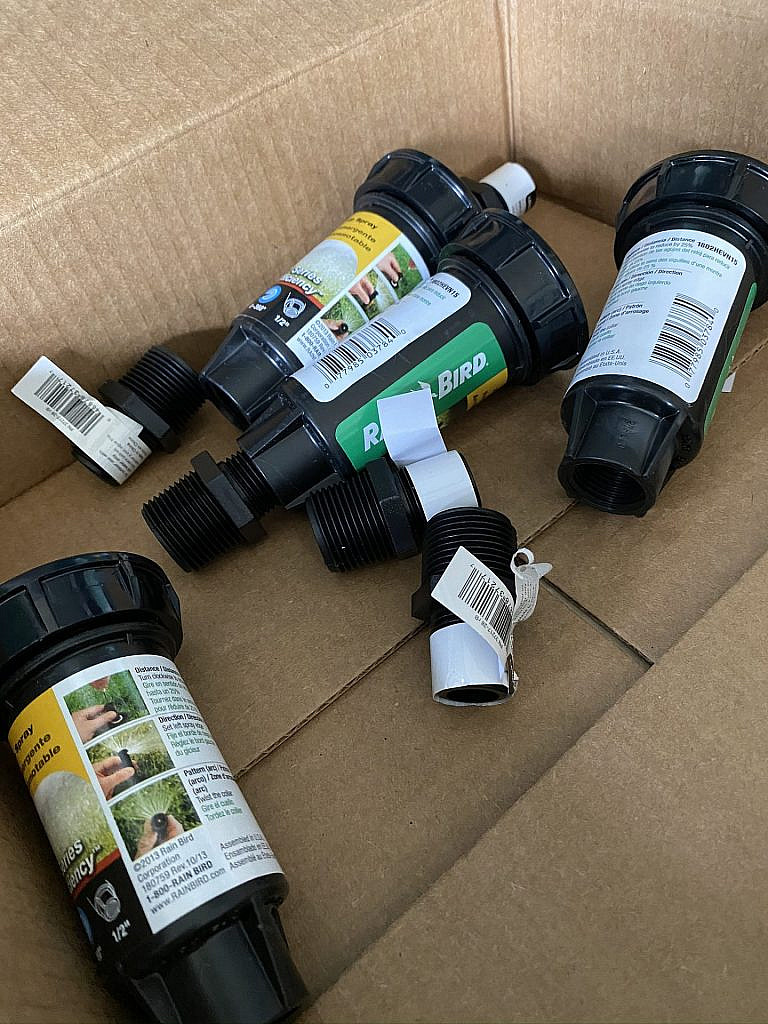
After going through designs and studying exactly how I wanted to use it, I decided on sprinkler system-based sprinkler heads attached to a length of 3/4″ PVC pipe. Parts you’ll need are below:
| Item Description | Price | QTY | Extended Price |
| 2 Pack – Orbit 3/4 Inch Slip x FHT PVC Hose-to-Pipe Sprinkler Fitting | 9.46 | 1 | 9.46 |
| Orbit 1/2-in MNPT x 3/4-in MNPT Flex Pipe Adapter | 0.31 | 4 | 1.24 |
| Rain Bird 1802HEVN15 High Efficiency Professional Pop-Up Sprinkler, Adjustable 0° – 360° Pattern, 8′ – 15′ Spray Distance, 2″ Pop-up Height | 7.34 | 4 | 29.36 |
| LASCO 3/4-in x dia Cap Cap PVC Fitting | 0.55 | 1 | 0.55 |
| LASCO 3/4-in x 3/4-in x 3/4-in dia Tee PVC Fitting | 0.98 | 4 | 3.92 |
| Charlotte Pipe 3/4-in dia x 10-ft L White PVC Pipe | 2.67 | 2 | 5.34 |
| Oatey Handy Pack 8-fl oz All-purpose Cement and Primer | 9.98 | 1 | 9.98 |
| TOTAL | 59.85 |
One thing to note about my list is that you can technically get everything at supply houses locally, but I really wanted 2″ pop-up height-based sprinklers as they don’t require as much pressure as 4″ rising sprinkler heads do. During the planning phase I was unsure exactly how I was going to power the sprinkler (whether by a sump pump, a water transfer pump, home water supply, etc.) So your prices may vary in your area depending on what you can get your hands on.
Assembly is straightforward. Take your 10′ PVC lengths and cut them into 3′ segments, at the end of each segment attach a Tee joint (make sure you get a threaded center and not slip-slip-slip (should be slip-thread-slip)), finally ending with a cap, and a hose to pipe sprinkler fitting. Make sure you use your pvc cleaner and cement thoroughly to create a tight seal during your assembly process and make sure all your T’s are facing in the exact same direction (use the floor to keep them all in plane).
Once the PVC has dried, attach the 1/2″ to 3/4″ threaded adapters to each your PVC T’s and attach your sprinkler heads.
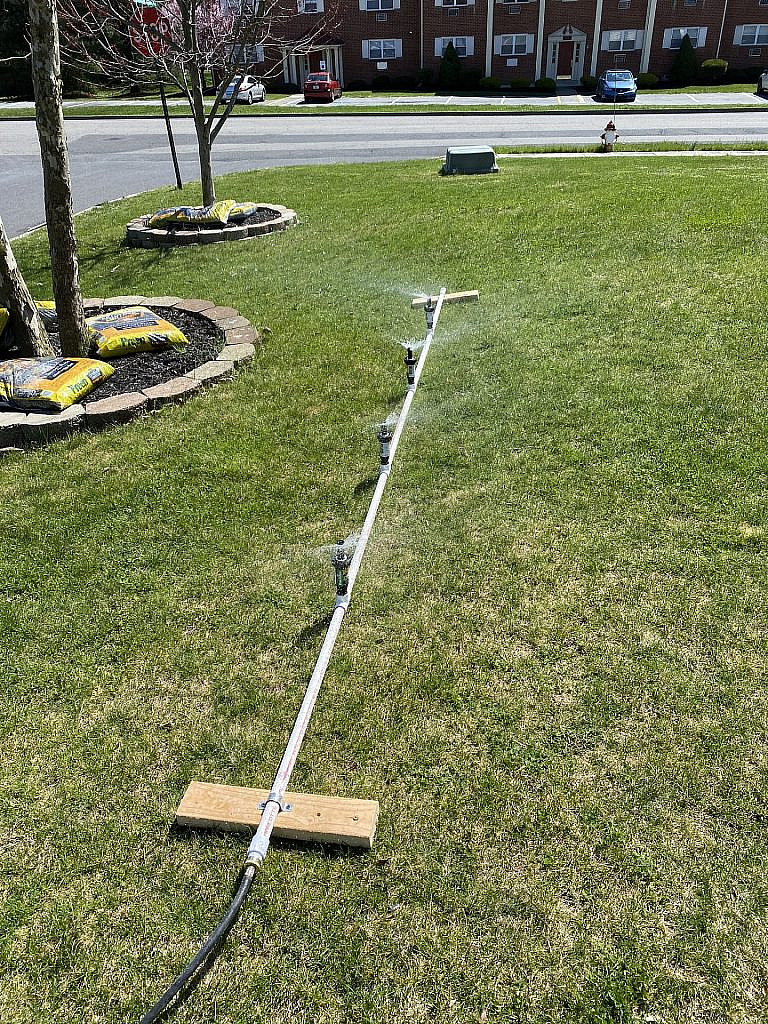
Congratulations! You now have a rain machine!
Pool
One of the other difficult aspects I found with this project was creating an area or finding a surface that was flat enough and high enough to hold a bit of water to allow for those awesome sweeping leg shots where the water just explodes at your camera. I played around with the idea of doing directly in the driveway of my house, but due to the grade of the driveway, I wouldn’t be able to hold the water efficiently. Then it hit me!
The Kiddie Pool!
I know what you’re thinking. There’s no way there’s a kiddie pool large enough for what we want to do. Well, you’re right. But the idea is what sparked the idea for the final product.
The design is super simple and if you know what you’re looking at, it’s expandable to the n’th degree depending on the size you need.
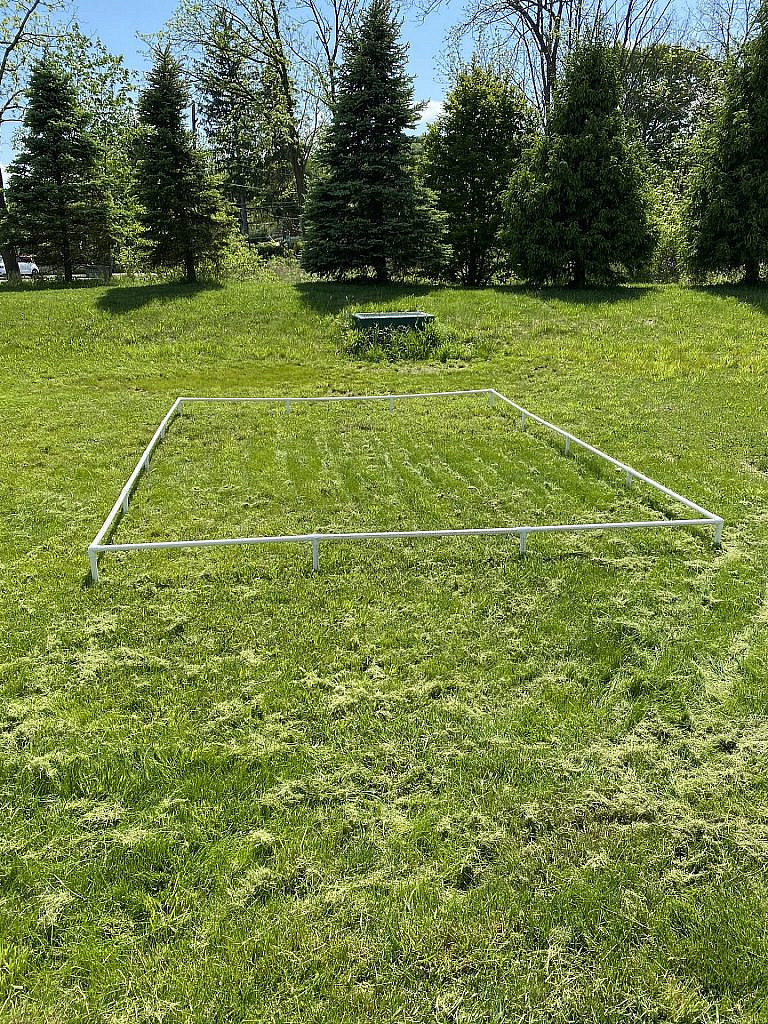
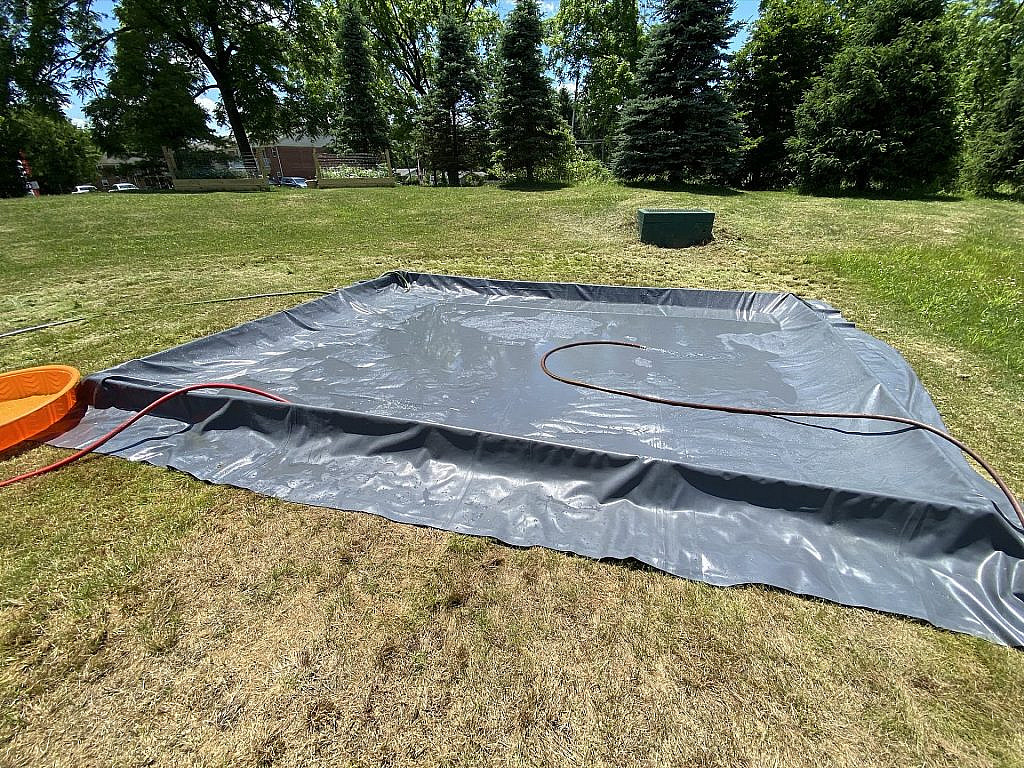
Let’s break it down before I get to the parts list. You’ve got a simple PVC frame with an elbow connected to feet and then to each other. Holding the water is a PVC liner. Simple enough… Let’s get started:
| Item Description | Price | QTY | Extended Price |
| LASCO 1-in x 1-in x 1-in dia Side Outlet Elbow PVC Fitting | 2.68 | 4 | 10.72 |
| LASCO 1-in x 1-in x 1-in dia Tee PVC Fitting | 1.34 | 6 | 8.04 |
| LASCO 1-in x dia Cap Cap PVC Fitting | 0.78 | 14 | 10.92 |
| 1-in dia x 10-ft L White PVC Pipe | 3.89 | 5 | 19.45 |
| Vinyl Tarp 13 oz. Heavy Duty Black/White Pond Liner Waterproof (16′ x 20′) | 89 | 1 | 89 |
| Black Workhorse Polyester Canvas Tarp 12 Ft. x 16 Ft. – 14.5 Oz. | 214.5 | 2 | 429 |
| Lot of 24 – 6″ inch Clamp Large Heavy Duty Spring Metal – 3 inch Jaw opening | 29.99 | 1 | 29.99 |
| 597.12 |
Again, I know what you’re thinking. That’s a REALLY expensive kiddie pool! Let’s break down the parts so you have a better understanding of what you’re getting. The first 4 lines are all for the frame of the pool. The vinyl tarp is your PVC/Vinyl liner to actually hold all the water into the pool. If you already own some canvas tarps, then you don’t need to purchase those.
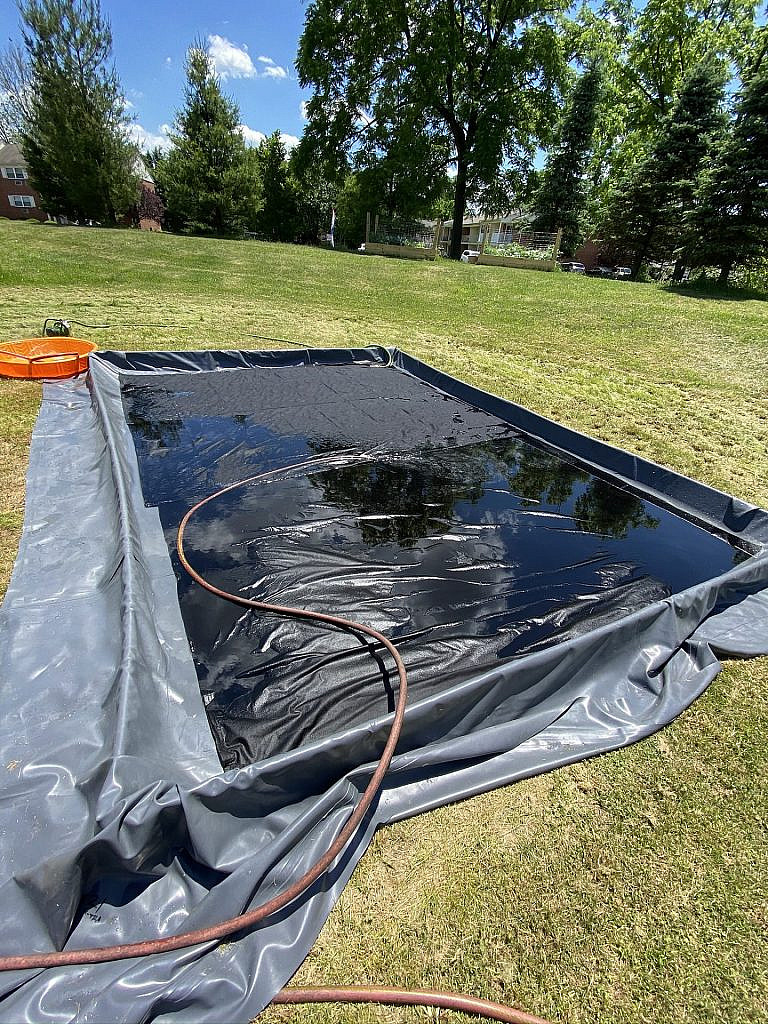
For me, the vinyl tarp (in my case, PVC), is far too slippery when wet for the dancers to perform anything without falling in place. What I found is that if I submerge a canvas tarp on top of the vinyl liner, it gives them the grip and texture they need to be able to walk and perform without injury. The second canvas tarp, you can use for your backdrop and drape it into the pool to re-capture the overspray from sprinklers.
Lastly, the clips are used to hold the liner to the PVC frame.
Assembly
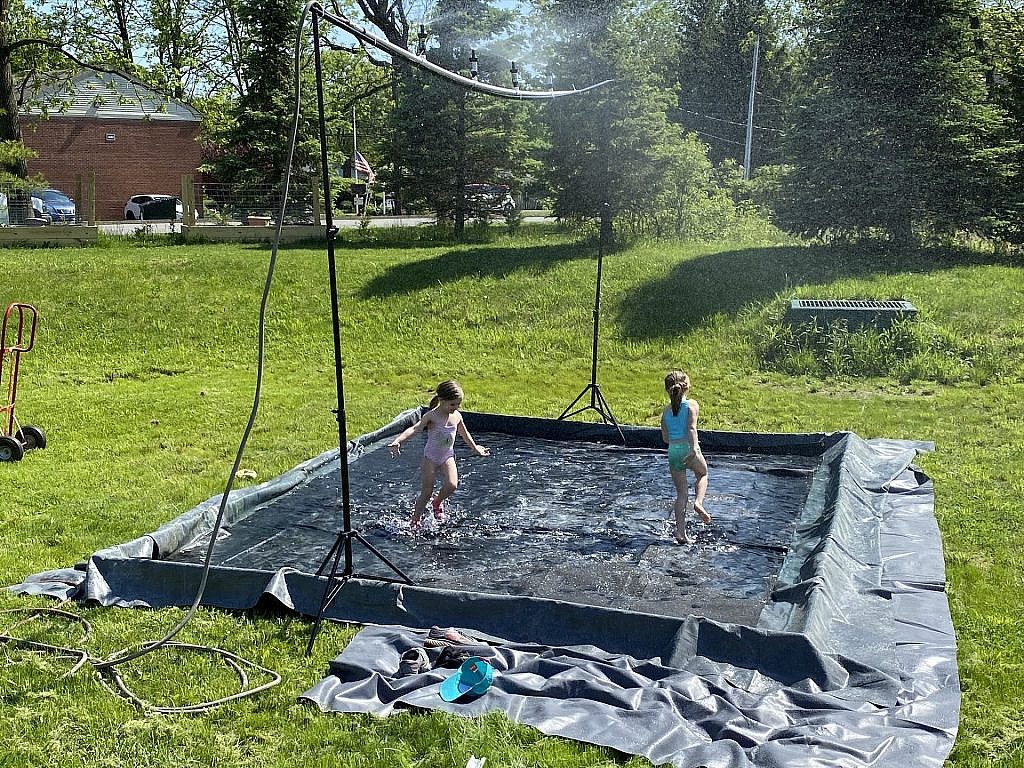
Assembly is relatively straightforward. You’re going to cut your 10′ lengths of PVC down to 4′ segments (keep the 2′ remnant pieces, we need those). You should end up with (10) 4′ PVC segments to create the frame of the pool. you’ll be able to create a 12’x16′ pool with this configuration. You simply insert 4′ PVC sections between T’s with Elbows on your corners. 3×4 configuration. With your remaining 2′ sections, you’ll cut 8″ pieces to create feet with the caps you bought. Those go into the middle sections of the T’s.
Once you’ve completed the frame, you can put your liner in the middle and work it around the frame while attaching it with spring clamps where needed.
Providing Water Efficiently and Environmentally Friendly
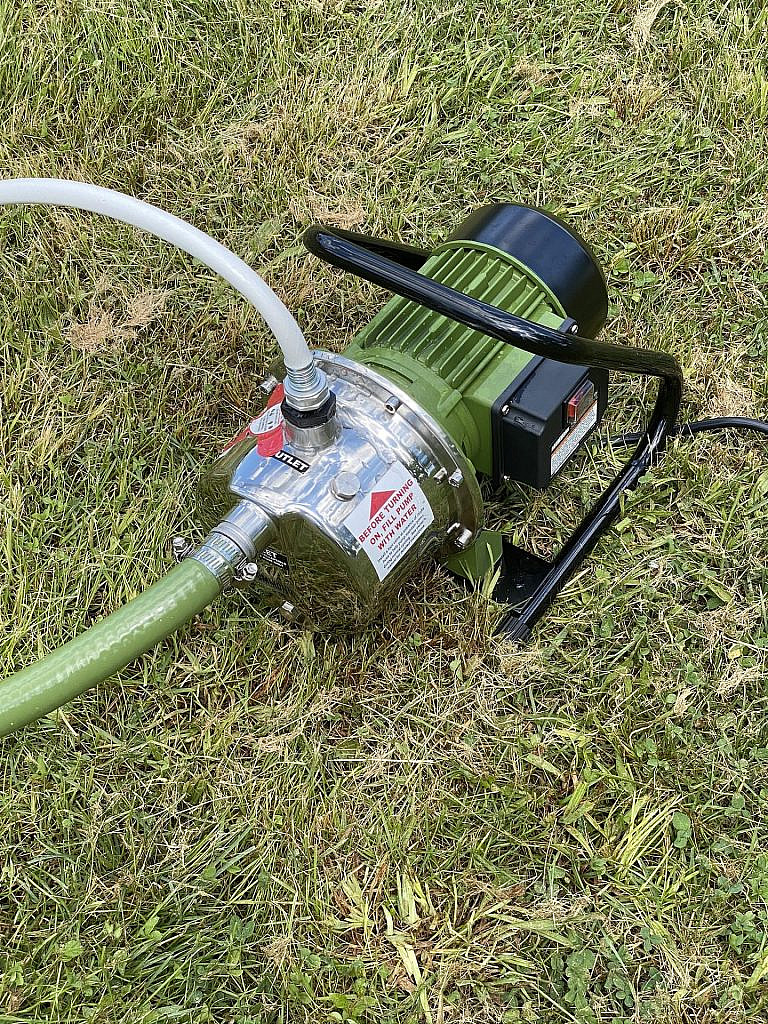
Originally, my idea was to use a generic 1HP sump pump to drive water out of the pool to the sprinkler and keep cycling it through thus conserving as much water as possible and keeping it warmer for the kids to last longer at events. BUT — Alas, as a generic 1HP sump pump didn’t have the head-end pressure to drive the sprinklers necessary for the event. Ultimately, it wasn’t a horsepower issue, but a design problem. Generic sump pumps are designed for un-restricted outward flow rates. Move from inlet to outlet through and through. In our case, we need something that can handle the back-pressure of a reduced capacity line and further restrict the sprinkler head system. Enter the sprinkler pump system!
Harbor Freight makes a pump specifically designed for almost this exact case scenario. An electric 1-HP unit designed for high flow rates and restrictions such as sprinkler systems. At an awesome 1075 Gallons Per Hour, you’re just shy of the 20 GPM flow rates of a household supply line. The pump is also specifically designed for back-pressure-based systems and a head-end lift of more than 25ft. Giving you plenty of power to send water up and over your dancers.
Keep in mind that you can’t just use any ordinary garden hose to supply water to the pump, you need a true suction-ready line and harbor freight has that too. A wire-reinforced 1-intake hose at 20′ works perfectly for this project and at a great price!
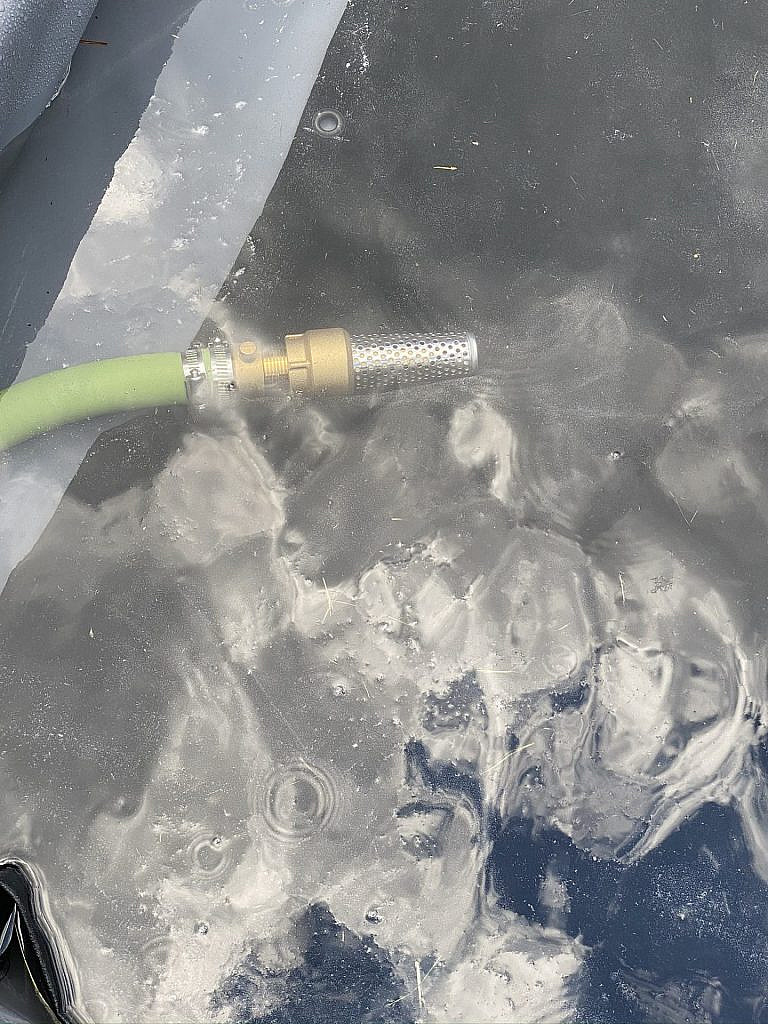
One last piece you need is a foot valve that you’ll attach to the end of the intake hose to keep out debris and keep the line primed for the pump so that it never runs dry.
| Item Description | Price | QTY | Extended Price |
| 1 HP Portable Sprinkler Pump 1075 GPH | 134.99 | 1 | 134.99 |
| 1 In. X 20 Ft. PVC Intake Hose | 29.99 | 1 | 29.99 |
| STAR Water Systems Brass Foot Valve | 24.98 | 1 | 24.98 |
| B&K 1-in Threaded Male Adapter Nipple Fitting | 7.88 | 1 | 7.88 |
